Showing posts with label retro. Show all posts

25 June 2012

Space Invaders Project (Part 1)

Last weekend I was playing Space Invaders on my Atari 5200 and I thought: Wouldn't it be fun to model these Space Invaders characters in Cinema 4D. So I downloaded some gifs with clear pixel and redraw them in Adobe Illustrator. After that I gave them some depth with the extrude nurbs function in Cinema 4D. This picture I also used Depth of Field to make it a bit more artistic. I hope you like the picture. You can click on it for a larger version of course.

Here is an overview picture of all the models I made so far. Most of them have different poses. I didn't account for this yet with the colors. I need to see how to animate this later, maybe with pose morphs, but we'll see about that. I do plan a little animation with this in the future, but I need to think it out first :) That is why I called this part 1 and I'm sure part 2 will follow when I have a little more time.

And here is one last picture, just for fun purposes with some rows of the same characters, just like in the game. If you never played Space Invaders before go and look it up. It is still one of my favorite game next to Galaga and Galaxians. All of them are so called 'vertical shoot them ups'. I used to be addicted to them. And this brings me to the thought that I should look up the Galaga and Galaxians figures to of course soon. Ah well. It was nice to spend some hours on a rainy Sunday this way. Now back to music again ;)

02 April 2012

Final Expansion 3 for Commodore VIC-20

I did another nice retro computer DIY project recently. I bought a Final Expansion 3 DIY kit from the Retro Donald Webshop. If you remember the VIC-20 from the good old days you will know that it only had 3,5 Kbytes of RAM and you had to wait for ages to load games from a tape drive. This expansion gives your VIC-20 a lot of new features. I will tell about them later, but first the process of building the cartridge. You will have to build it yourself since it is only available as a kit. You can only choose to buy it with or without an enclosure and I chose the version without.

On the website on the shop there is a very clear manual that actually shows with pictures which components go where. Most of the stuff is pretty straight forward except for the SD cart holder that is SMD mounted. I used some flux to solder this one. In the picture you can see the finished PCB, but what you don't see is that there are some components soldered under the ICs as well. On some spots I found it quite challenging to get everything in place without putting to much force on the components. But in the end it worked out fine.

So time to put it in the VIC-20. You might have noticed the DIN plug coming from it. This is actually a serial connector that plugs into the VIC-20's serial port. The cartridge emulates a disk drive over this connector. You can load files from the SD cartridge. It is standard FAT16 formatted so you can just copy files on it from your PC. The first thing you need to load is the firmware for the expansion itself. At first I could not get it to work. I could load software I put on the SD cart, but the firmware didn't want to program. It turned out I forgot to set the dip switches right.. duhhhhh... It actually took me quite some time before I found this out. After the cartridges Eprom is programmed you can use the reset switches to reset the VIC-20 into a nice menu system. And from this
menu you can do some very nice things.

The first menu item is the most exciting one. It says RAM manager and you can add additional RAM to your VIC-20. As stated before the standard RAM amount is just 3,5 Kbyte, but you can go up to 512 Kbyte!! But there is more. You get another 512 Kbytes where you can put programs in you use often that you can then load from the menu directly. You also get a battery backupped real time clock. With the 'Basic Wedge' option you even get additional Jiffy DOS commands. If you want to learn more about this expansion you can read all about it on this URL: http://t-winkler.net/dokuwiki/doku.php?id=en:fe3:main

18 March 2012

Apple IIe Enhanced + IDE + TCP/IP!

Last week I did a major change on my Apple IIe computer. It actually got a new mother board from the US that I found on E-bay. It is an so called 'enhanced' version. It was sold back then as an upgrade kit that contained some ROMs and a new CPU. They are hard to find now a days and you need the exact type. The ROMs of this motherboard for example didn't fit in my own old motherboard. You need this upgrade for a lot of software and also hardware. It improved the Apple IIe a lot.

The first project I needed the enhanced ROMs for was this card. It is an IDE interface for the Apple IIe and it has a Compact Flash inserted in stead of an IDE drive as you can see. I already got it running in the mean time, so now I can install and start software on a CF in an Apple IIe. How cool is that? :) It should be possible to boot from it as well, but I haven't got that working yet. I still need a floppy to boot ProDOS first, but I'll try to figure that out as well.

But there is more. Even cooler is that I installed an Ethernet card in the Apple IIe. It is so great that people are still developing hardware like this for these old machines. I also needed the enhanced ROMs to get this running, but as you can see it works! I hooked it up to the internet this morning and started the IRC client from the Contiki package. If you click the picture you can see a little conversation I had this morning with MiVo on the #JMJ channel. Really cool that this actually works :)

Here is another picture of the Apple IIe back on its spot. The only thing I still need to find out is how the CP/M card works that was in the machine when I got it. I didn't get any software with it though so I'll have to go on the internet and look for it. It should be fun because I also have CP/M on the Commodore 128d and it would be cool to exchange files in this way I guess. Well not useful in any way, but fun for sure to get it working.

14 February 2012

Bootstrapping Apple IIe over Audio

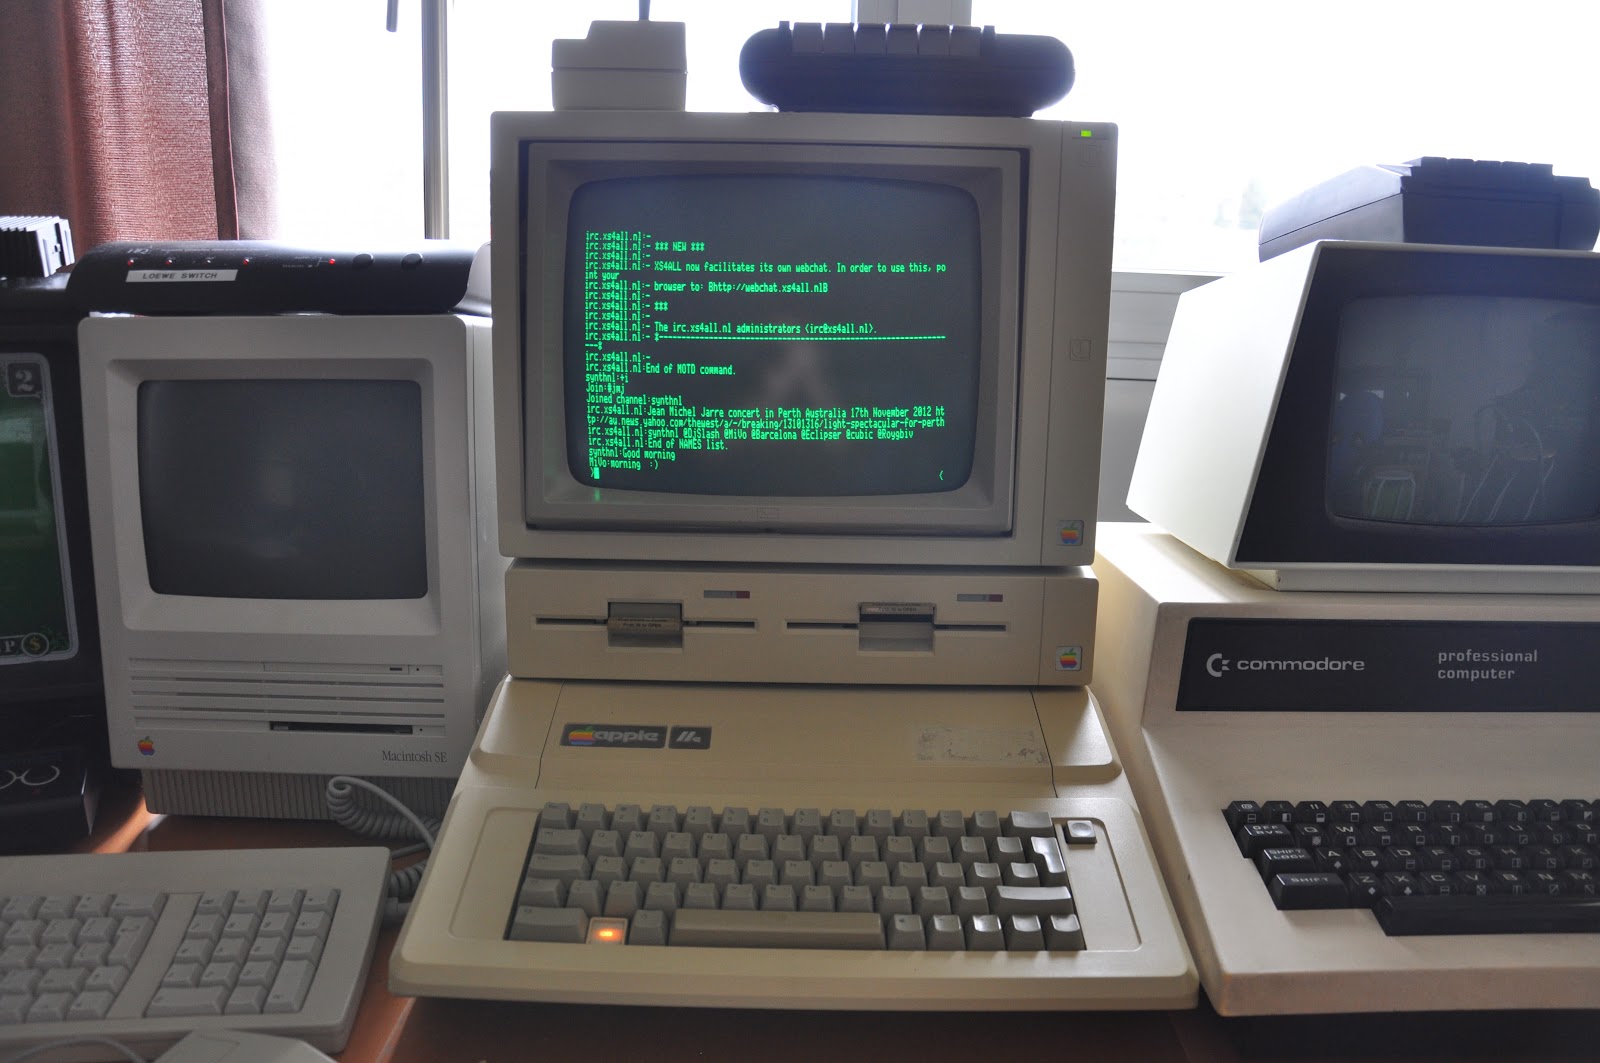
I recently did another project that took me a lot of time and effort and that I wanted to share with you. When I was in school I learned to program assembler on an Apple IIe. Back then I had a C64 myself with a tape drive and the Apple IIe already had a disk drive on it with 5,25 inch diskettes. Back then that was the coolest thing I ever saw and I started saving up  to buy a 1541 disk drive for the C64. A while ago I could get an Apple IIe from someone for free and I couldn't resist that. The only problem was there were some diskettes with it but not much usable stuff. Well not for me anyway. But how to get software on it I don't have any other hardware anymore with 5,25 inch diskettes. I did manage to get a couple of boxes of new and unused diskettes though.

I started looking for a way to transfer diskettes from a PC to an Apple IIe and found this little tool called ADTPro. The only thing is you can install a server on the PC side but you also need a client on the Apple IIe of course. Well this tool can do something that is called 'boot strapping'. It is a way to get an OS running on a Apple IIe without anything to start with. It supported serial and I happened to have a Super Serial card in my Apple IIe, but I could not get it to work. The hard thing is though with serial you never know why until you get it working. Could be interfacing, cable, protocol. Who knows.

An other option was using audio. The Apple IIe has a casette port that wasn't really supported in the DOS implementations because it had diskette and everyone used that, but with some assembler calls you can get you Apple IIe to read data from the audio in port. You connect you Apple IIe with audio in and out to the sound card of your PC and after a few system calls the ADTPro tool starts sending audio through your sound card into the Apple IIe and loading ProDos directly into the memory. And then when you have ProDos loaded you can again transfer the ADRPro audio client over audio to the Apple IIe. And suddenly you have the ability to transfer disk images from the PC to the actual floppy drive. It only takes a very long time to do that.

The first thing I send over because of this was a serial terminal program. With that program loaded I could finally find out why my serial connection wasn't working. It turned out to be a problem on the PC side. The USB to Serial device I used under Windows 7 crashed after a few bytes. So I installed ADTPro on an older Windows XP machine that still had an actual serial port on the motherboard. And that worked. Now I can transfer diskettes at 11520 bits/s and that is as quick as the disk drive in the Apple IIe is anyway. So it is just as fast as a normal disk to disk copy. The next thing I found out though is the Apple IIe has old Roms installed. It is not the 'enhanced' version. And I need that to get an ethernet card and IDE interface running. I just got some Roms of E-bay and am waiting for them to arrive now. So I guess I'll have an update to this story somewhere in the future. Well I enjoyed this project and I am happy I got the Apple IIe running now :)

11 February 2012

petSD for the Commodore PET 2001

A long time ago I bought an old Commodore PET 2001 in quite a good condition. It came along with a tape drive with just a few very simple games on it. Of course there is much more software out there for the PET but I needed a reliable and comfortable way to get it on there. Then I found a DIY kit on the internet called 'petSD'. It simulates a disk drive and stores it files on a SD card. It is quite easy to build. The only thing that is a bit tricky is the SD adapter itself since it is SMD and has very small pins to solder.

The website has very clear instruction for the assembly. You can also see a battery on the PCB and that actually is for a clock interface that should tell the PET the current date and time. I don't think I'll actually use that. But then it was time to switch the power on and everything looked OK. I did notice the odd looking centronics like connector and thought that would hook up to a port on the PET. And I was wrong :) Good preperation..... NOT !!. It is a IEEE 488 interface and there is one on the PET offcourse but it has a different connector. So you actually need a cable to hook it up. I thought it would be easy to find something like that on E-bay, but WRONG again.

After a long search and reading a lot of forum articles I managed to stumble on the TPUG (Toronto PET Users Group) from Canada. And they had them on stock :) So after that I had to wait for that cable to arrive before I could test the petSD. And today it arrived! So I hooked it up right away and did a LOAD "$",8 and LIST and got a directory listing of all the programs I already put on the SD card. So it actually worked :) Very cool.

And then it was time to test some games. My youngest daughter also joined and played with the old machine. She was complaining that it was slow :) LOL. Sure it is. But now I can put all the software ever made for the PET on a 512 Mbyte SD card. I already found some games that don't fit in the standard 8 Kbyte of RAM. So next thing is looking for a memory expansion for the PET. So if you happen to have one laying around. Let me know :) OK. If you are interested in the petSD project. You can find more information on this URL: http://www.retro-donald.de/sinchai-shop/

02 February 2012

Boot Selector and HxC for Amiga 500

The last weeks I haven't done much music. The Apollo album has taken a lot of my energy and I needed a break. So I have been working on some projects on another hobby. Next to synthesizers I also collect old retro computers and game consoles. In the place where my studio used to be (before I moved to the basement under the garden) I have build a bit of a computer museum. The last weeks I spend a lot of time testing and repairing stuff and adding modern electronics to old hardware like on this Commodore Amiga 500.

The software for this machine used to be distributed on 3,5 inch double density floppies. After a couple of years these diskettes go bad since their magnetic layer deteriorates in time. So I bought this HxC floppy emulator for it. You can put floppy images on a SD card and select the image you want to load on with little knobs. Once you have the image you want to boot in the display you hit a key and the Commodore Amiga doesn't know better than it is talking to an actual disk drive.

Most people replace the internal disk drive with this HxC emulator, but I didn't want to do that since my internal drive is still working fine and I also have a lot of diskettes that do work. The Amiga 500 is only ably to boot from the first floppy drive though and that is the internal one. I put the HxC on the electronics of a external drive but that becomes drive 2 then. So you need to be able to switch them. I build something for it called a boot selector. It takes two pins from the floppy controller chip inside the Amiga 500 and swaps them when you toggle the switch.

In this way the internal drives becomes drive 2 and the external drive becomes drive 1. So now I can boot from the HxC and my Amiga 500 is still original. I didn't want to drill a hole in it either for the switch so it is sticking out on the back with a flat cable coming through the housing. Now I'm going to transfer some of the diskettes that still work to the SD card and look for some new ones. I'm happy that the boot selector works. Time for some retro fun. I did some more projects so maybe I'll post some more of them up here.